Lighting a Glass Bottle – Behind the Scene by Derek Cooper
Derek Cooper is a professional still life and food photographer based in Toronto.
http://portfolio.derekcooper.com
I’ve been working on a lot of shoots with glass lately. Glass is particularly difficult to shoot, especially curved glass surfaces like that of a bottle. It acts as a mirror, seeing everything around it, so it becomes an exercise in controlling light in every detail.
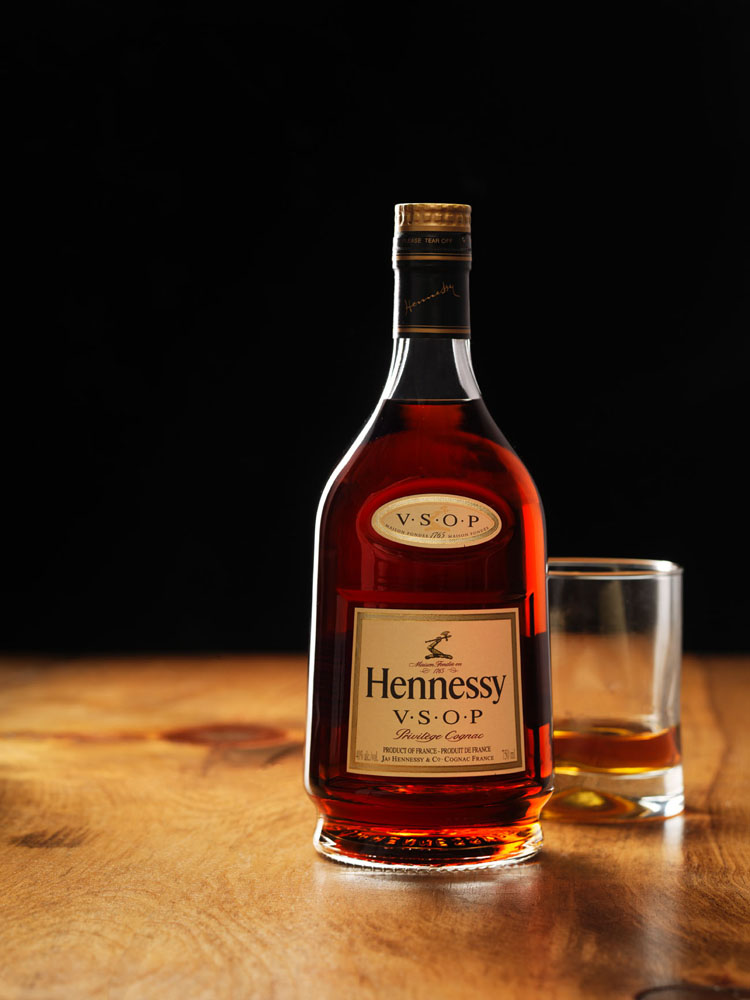
Here’s a behind-the-scenes look at how I shot this bottle of Hennessy Cognac with a glass. This diagram shows an overhead view of the lighting setup – the Hennessy bottle is the circle with the star on it.

I used two light sources mounted behind a very large sheet of white plexi, sand-blasted on the side facing the set. The bottle of Hennessy was sitting on a large piece of oak. I wanted to completely back-light the bottle so the liquid would tend to glow and I wouldn’t show any reflections on the front of the bottle. I knew I was going to use a series of shots to create the final composited image.
The black gobos are used to cut the light coming from the large sheet of plexi – that allowed me to control exactly where the light was going to fall. The gobo behind the set in the frame of the shot was a section of black velvet – it’s still the best at absorbing light.
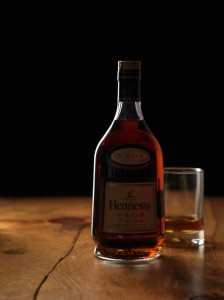 So, here’s the first shot of the set – for the bottle details, the glass behind it, and the lighting along the left edge of the bottle.
The gobos make sure the thin strip of light down the left side of the bottle doesn’t migrate too far forward. If the left gobo were removed, you’d get a large, wide white strip down the left side of the bottle – resulting from the reflection of the white plexi behind the set.
The gobo to the right of the bottle cuts any light that may be reflecting around the room. Since it’s glass, it’ll see any light in the room that is strong enough. The gobo kills any of that ambient light.
Finally, the gobo beside the camera is cutting the light from hitting the lens. It is blocking the light from the plexi sheet coming from the strobe to the left, and it is also cutting the light from the strobe behind the plexi to the right. If that gobo were not there, I’d get lens flare.
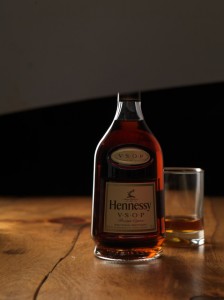
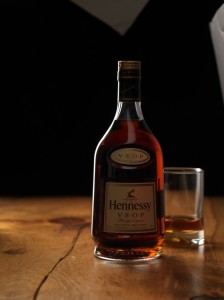 Next step is to light the labels.
That is done in two separate shots – one to light the main labels on the front of the bottle, and a second shot to light the cap.
To do that, I used a sheet of silver florentine and bounced the light back onto the front of the label. Silver florentine is just like a shiny piece of thin cardboard – great for reflecting light.
You have to be patient with positioning the card – you want the light to bounce from above and down, so you don’t get shiny reflections on the label. You also want to make sure the light is bouncing along the labels in the same location, otherwise it would look like the labels were each shot separately.
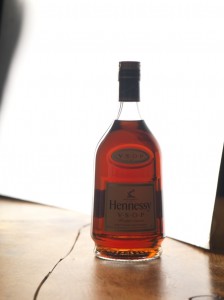 In the last shot, I placed a large sheet of silver florentine behind the bottle and positioned it so it would reflect the light from the white plexi toward the camera.
This shot will be used to illuminate the liquid in the final composite.
It’s important to fill the entire width of the bottle with light so all the liquid is lit up, being careful not to leave black gaps along either side of the bottle.
It’s also important to make sure the silver florentine card isn’t moved too far forward on the right side of the bottle, otherwise it will reflect on the front of the bottle and ruin the overall shot.
Remember not to adjust any of the settings on the camera – you don’t want to alter the aperture, otherwise it will make compositing the shots later virtually impossible. Keep everything the same from shot to shot, and be careful not to move the bottle.
Once all the pieces are shot and ready, you then composite them together to create one final shot. Here is the result.
Kevin Cooley – Master at Night Photography
Kevin Cooley lives and works in Brooklyn, New York with his wife and is primarily a photo and video artist who does freelance assignment work as well. He is well known for his night photography. His extended use of ambient light combines with the magic hour is unbelievable.
He surprised me with creative ways of using/exploiting light in the video below. To great end, too.
Kevin Cooley is represented by Redux Pictures:
“Redux Pictures is an independent commercial and editorial photo agency based in New York City with photographers located around the world. We opened our doors in 2003 and quickly emerged as an industry leader, receiving many major awards, including World Press, Overseas Press Club, American Photography and Communication Arts. Redux takes pride in being a strong advocate for the power of modern photography and the creative individual to affect change.”
You can also check out the agency’s blog if you have time. Definitely spend some time on it, since there are great inspirations and ideas from their most current assignments. Also more promotional videos are available on their Vimeo Site.
